The Finished Raptor

March 7 raptor

March 7 raptor
This is the raptor as of March 7

Our Raptor in progress

Our Raptor in progress
Half way done! Jan. 28

Blog is Made

Blog is Made
Bryan is making the blog.

The "MAN SAW"

The "MAN SAW"
This is the powerful saw that our class renamed from Ban Saw to MAN SAW

Tuesday, June 7, 2011

THE RAPTOR IS DONE!


The raptor is finally done.  Today we finished touching up the claws in black paint.  We also made the eyes.  We felt it looked great and soooo much better than the last raptor in Rippowam.  Finally, we painted the base brown to look like dirt.  We think it is a hue accomplishment.

Thursday, April 14, 2011

Wrapping Plaster Wire Around Stomach

Today we had to finish plastering the body of the raptor.  The only part left to plaster of the body was the stomach.  We felt that it was hard to stick the plaster on upside-down so, we cut strips of plaster of about 4 feet long so we could wrap it around as you see below.


Friday, April 8, 2011

Plaster Craft ------ Day 2

Today we continued wrapping the plaster craft on the raptor body.  This week we accomplished putting plaster craft on the bottom of the torso of the raptor and putting a second coat on the top of the torso, head, and arms.  We thought it looked even better today because when the plaster craft dried it felt hard and looked easier to paint on.

Plaster Craft

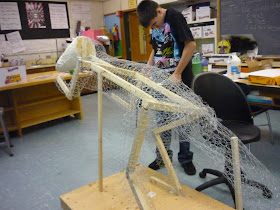
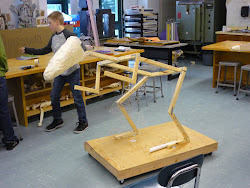
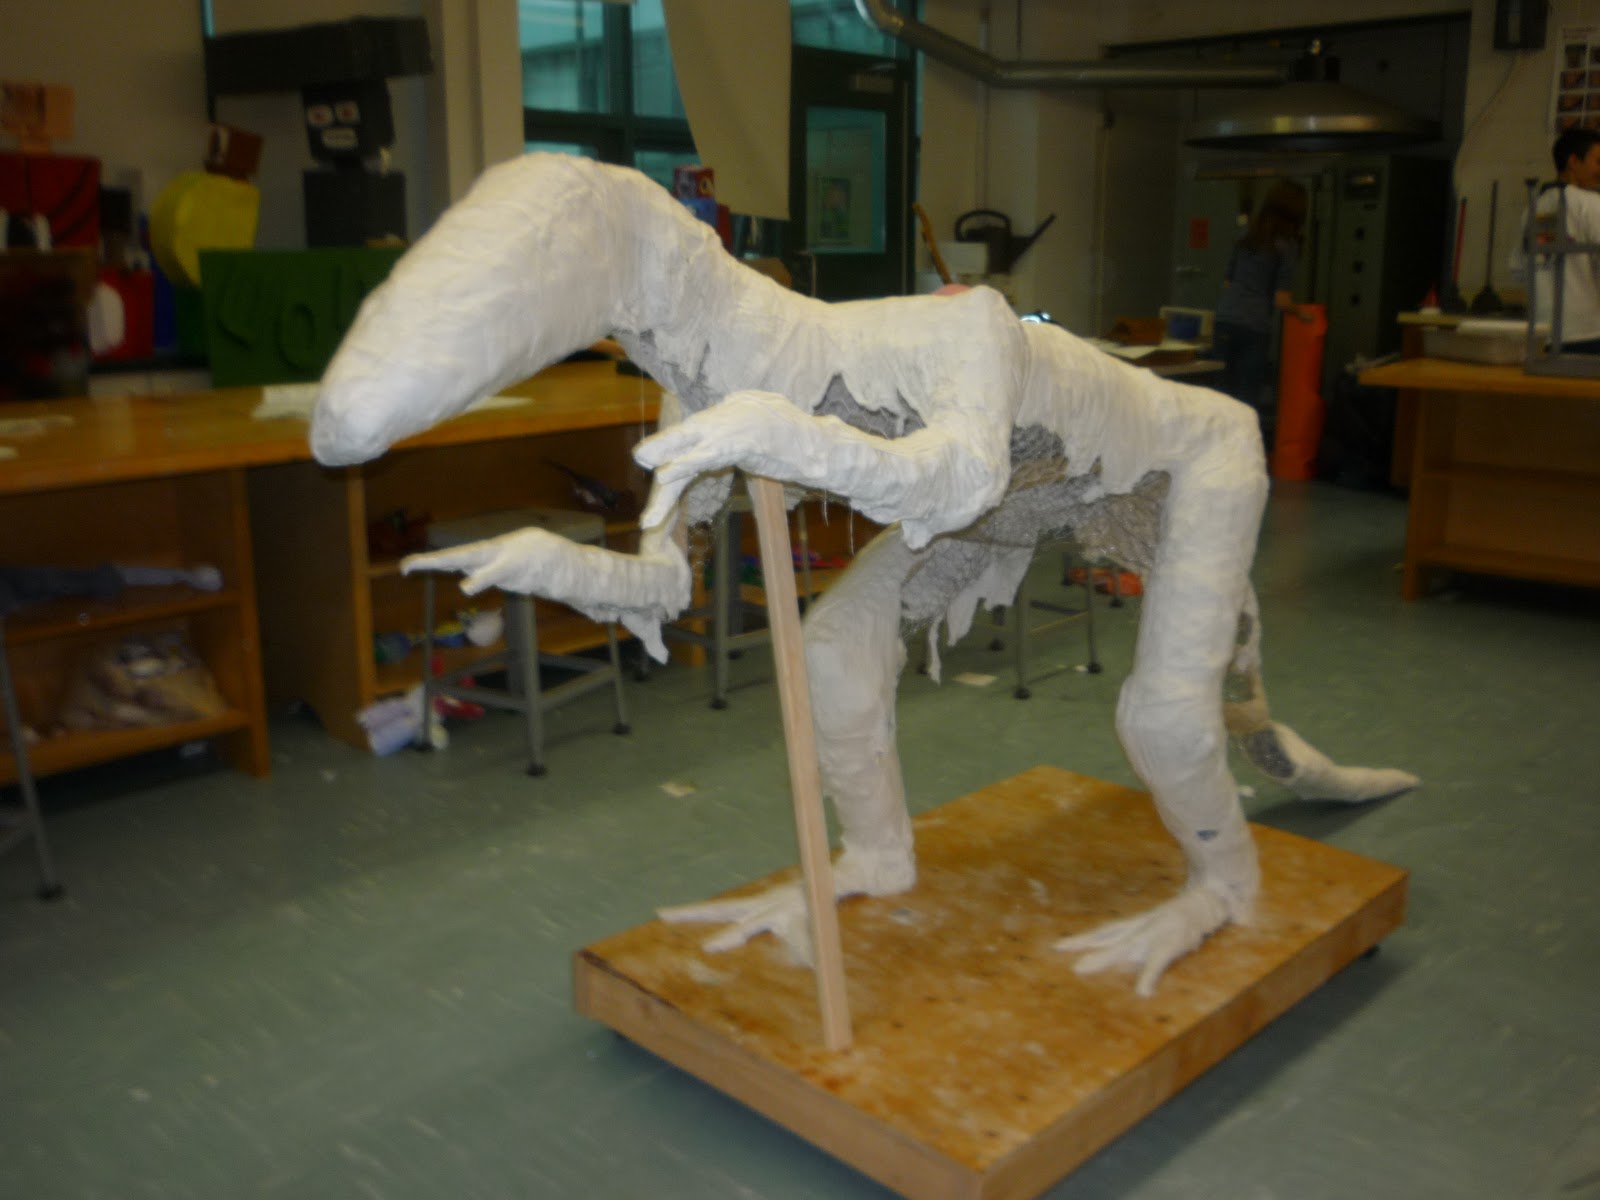
Last week we started putting on the plaster craft.  Afterm we cut the plaster craft into strips of about one foot, we wood soak them in a bucket of water.  Then we would stick them on the raptor.  We completed the head, claws, top of the torso, and the tail.  We felt that it was starting to look like a real raptor.


Tuesday, March 29, 2011

Taping the Claws

Since we were not ready to plaster the structure yet, the rest of our class taped up the claws.  We felt that the claws were not sturdy enough to hold the plaster because they were only paper.  We cut and wrapped masking tape around the claws on the hands on feet.


Cutting Out Plaster

Two weeks ago we decided to use plaster instead of paper mache because we thought the plaster would hold up better.  Today, we cut out the strips of plaster.  The strips of plaster were very long so, we cut them into about 1 foot strips.  Then, after we were done finishing cutting, we put them in a box to save for next week because we felt that we would not have enough time to water them and put them on the raptor today.


Thursday, March 24, 2011

Wheels Are Rotated

This week in art, there were only two of us in art so we just fixed up one thing before we plaster the chicken wire.  When we rolled the raptor into the classroom, we felt that the wheels were not smooth.  We saw that the swively wheels were in the back and the wheels that do not swivel were in the front.  We felt that the swively wheels should go in the front so it turns easier.  In effect, the un-drilled the wheels out and drilled them back in the opposite way so that the swively wheels were in the front and the non-swively wheels were in the back.  It seemed alo smoother when it turned.