
The Finished Raptor
March 7 raptor
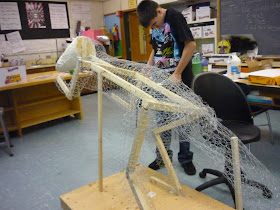
This is the raptor as of March 7
Our Raptor in progress
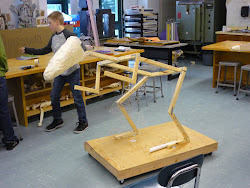
Half way done! Jan. 28
Blog is Made
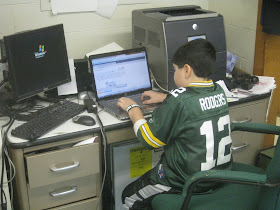
Bryan is making the blog.
The "MAN SAW"
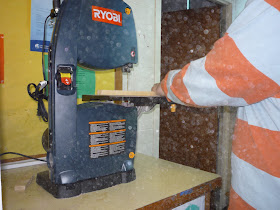
This is the powerful saw that our class renamed from Ban Saw to MAN SAW
Wednesday, February 16, 2011
Chicken Wire Under the Torso
Today the boys started to add the chicken wire underneath the torso. They had measured it already and felt that they had cut it to the right size. It turned out that the chicken wire was cut too big. So, they had to measure again. Then, they started to connect it, but time ran out in class. Next week they hope to finish it. They felt the new size will look better.
The Base
The girls are now planning what the base s going to look like. They are dicussing the designs and colors on it. At first, they felt that they should just make it plain green like the raptor and Rippowam's colors. Then, they thought that they should put school inspired designs. They came up with books, and notebooks and pencils and sports. They still have to design it. They also decided the color. It is going to be a Rippowam green background.


Thursday, February 10, 2011
The tail structure going on!
The boys are now putting the tail structure on. They had to cut part of it so that it stays. We also felt that it will not stay up, so for now we put a piece of wood underneath it to keep it up.


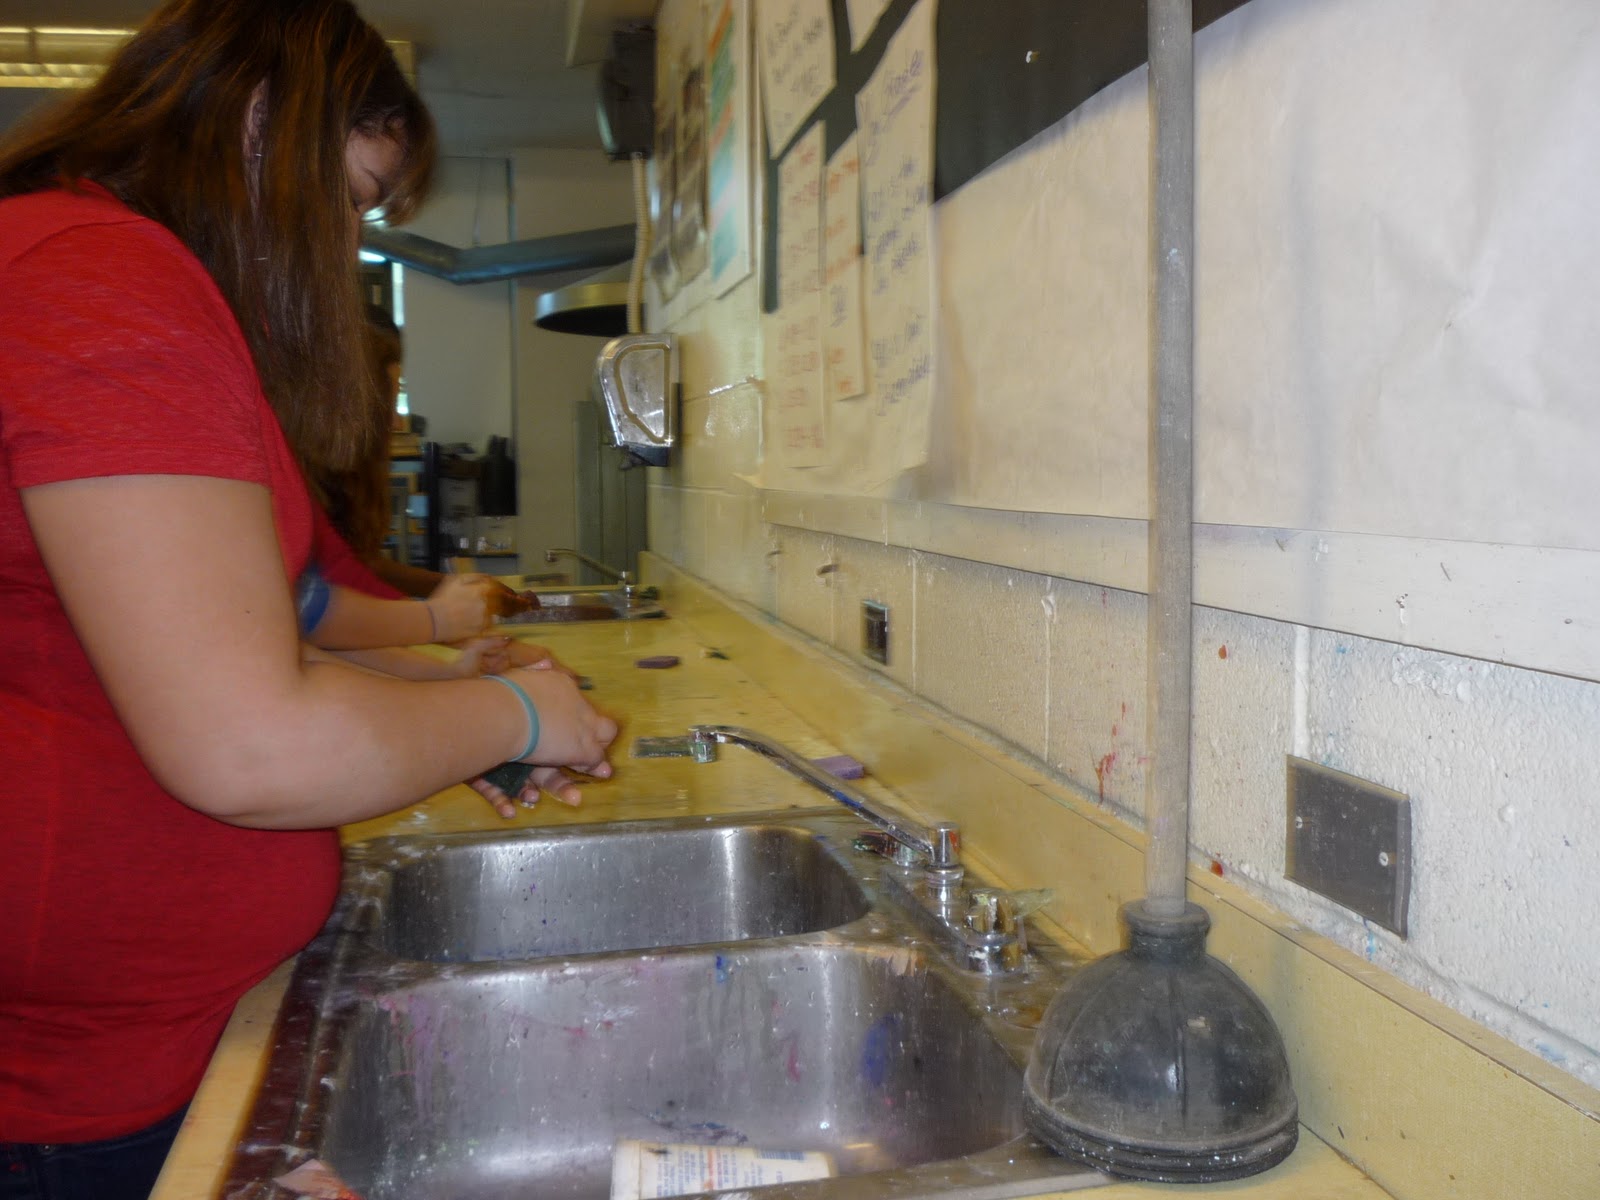
Cleaning!
The girls are soon going to put the paper mache on the chicken wire tail. But first, they had to clean the area. As you can see below they were washing and scrubbing and scraping the counter.


The Tail
The boys are now stating to cut the tail to fit the right size that we need for the body.
They measured how much they needed before.


Stapling the Chicken Wire for Torso
We are now stapling the chicken wire to the wood structure on the torso so it will stay. As you can see in one of the pictures below, we messed up on stapling in the wrong place. After we stapled it we felt that it did not work.


Friday, February 4, 2011
Torso
In these pictures below we are putting the chicken wire on the torso.
At first we had to measure the torso so that we would have the exact measurements for the right amount of chicken wire. They were wrapping it around the wood frame.
In the middle picture we were wrapping the two pieces of chicken wire around each other. The little strips out of wire were being put together.


Raptor Feet Investigation
Today in class we collected information and said our ideas about the raptor feet. We are trying to cover it with chicken wire. At first when we were about to make the feet, we had too much chicken wire. It looked to chubby. We felt it should look like chicken feetand chicken feet are extremely skinny (as you can see in the picture on the bottom). That picture shows the exact texture of the feet and the detail. They are very skinny and round. We kept cutting the chicken wire so that it would be the right size. The final picture on the bottom shows the feet.


Subscribe to:
Posts (Atom)